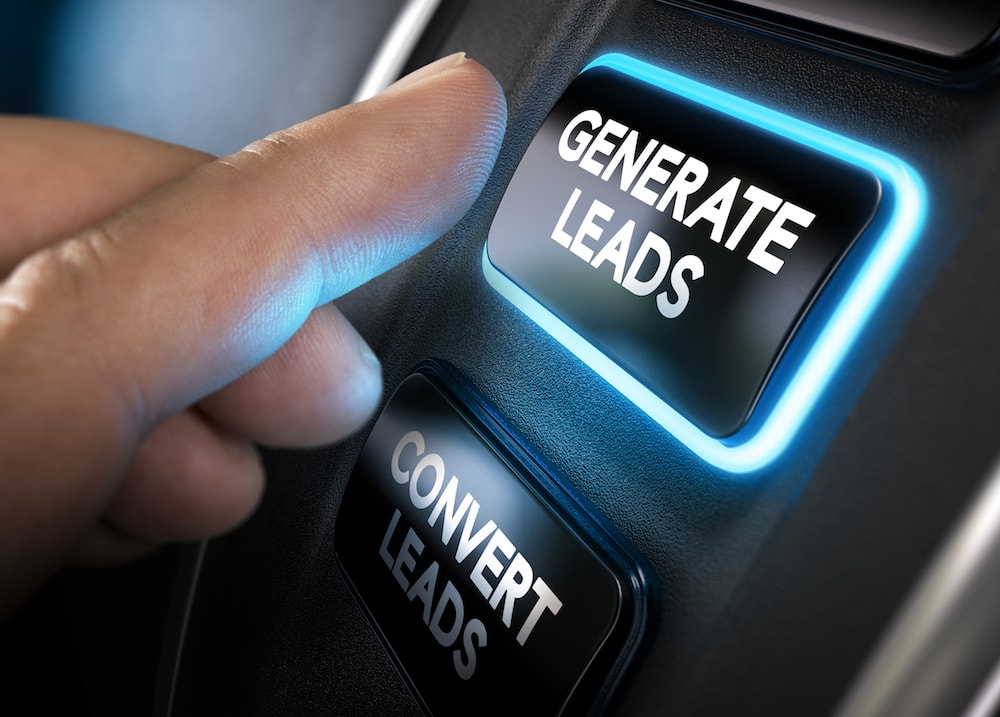
How To Use Facebook For Real Estate Lead Generation
There’s no question that social media has been the go-to for prospecting and lead generating. I will show you how to basically turn Facebook into a lead generating faucet to target buyers and sellers specifically. I will warn you that there is work involved, but making it through the learning curve will pay dividends if you do this correctly. All of this begins in two places, creating content on your website and using Facebook’s Ad Manager to target that traffic.
Create Specific and Targeted Content First
The key here is to create content on your site specifically for buyers and sellers. So think of what information a buyer or seller would be looking for and create those pieces of information on your site—these will be your “lures”, if you will, to attract that audience. If you don’t have content to identify who is a buyer and who is a seller, the Facebook pixels you’ll be setting up will not work, since they need fuel to feed the fire.
Also, you’ll need to have a way for your prospects to give you their contact information. There are two parts to this, you’ll need a landing page or squeeze page—basically a page on your site that explains what you do or an incentive to your prospect for submitting their information; and you’ll need a redirect page such as a “Thank You” page or contact page that’s only seen when they submit their information.
Installing A Pixel On Facebook And Your Site
You can install a Facebook pixel onto any web page over which you have control. Basically, this pixel is a string of code that talks to Facebook to retarget your ads to people who have visited your site.
Setting Up Your Pixel
On your Facebook profile in the upper right, click on the dropdown arrow.
- Click on “Manage Ads”.
- In the search bar at the top, type and click on “Pixels” and you’ll be taken to a page to create your pixel if you haven’t already made one. If you’ve already made a pixel, it will take you there and you can access the code to embed on your site.
- Click on “Create A Pixel”, and a pop-up will appear.
- Name your pixel. The name you use doesn’t matter because no one will see it.
- Click on “Create”.
Now you’ll be presented with three methods to use your pixel—choose whichever is best. There will be instructions to guide you to the best option.
Note: only one pixel is provided per Facebook ad account. You can use that one pixel on multiple sites. Each campaign will track individually. Most templated sites will or should have a section where you place your Facebook pixel. If you’re using WordPress, you can install a plugin from wpbeginner called “Insert Headers and Footers” and install it on your site. CLICK HERE to download the plugin files onto your computer. From there, you’ll be able to add the pixel to your site. CLICK HERE for step-by-step instructions on how to set that up.
Facebook Audiences
By creating an audience, you are identifying a segment of people who showed interested in a certain topic or subject by when they visited pages on your website that piqued their interest. You are creating a targeted audience from your website traffic. Using this information to create an audience is superior to simply putting in demographics such as age, income, interests, etc., information that is used normally used to create Facebook ad audiences. With that method, you’re blindly choosing a demographic that have not shown any interest in buying or selling a home and could be wasting advertising dollars on people who aren’t even looking to buy or sell. When you create content on your site that is targeting a specific persona, you now have information to leverage to help filter out the unqualified people. The content on your website is designed to attract the type of people you want to interact with. Facebook pixels allow you to track that traffic, and start building your audience to target based on that traffic.
For example—let’s say on your site you have a few blog posts that cater to the buyer persona like “How To Get Pre Approved”, “How To Buy A Home”, or “Which Loan Is Good For You”. Facebook will target with your specific ad anyone who visits or has visited those pages in the last 180 days. This is better marketing, since Facebook’s pixel tracked the most interested people who visited your website. If they visited articles that relate to buying a home, you now have buying audience you can target with a squeeze page or landing page for them to give you their information—and you know they are interested in buying a home.
How To Create A Facebook Custom Audience
- In the Facebook Ads Manager, in the search bar at the top, type “Audiences”.
- Click on “Create A Custom Audience”.
- Click on “Website Traffic”.
- Select your pixel (Hint: it’s the only pixel).
- Select “People Who Visited Specific Web Pages” in the past “180” days.
- Paste the URLs of the pages from your site that are targeted to buyers or sellers, whichever you want to target with this audience, but not both.
- Name the audience (i.e. “Buyer p180″).
Create Custom Conversion
By leveraging the existing pixel you used on your site, Facebook can track the conversion of each specific person. Basically, Facebook will recognize whether a person filled out a form, called your number, or purchased your product. The key component here is that the prospect is taken to (aka redirected to) a “Thank you” page AFTER they have filled out the form, submitted their email, or processes payment. Because the prospect reaching this point in your conversion process, Facebook’s pixel can now see that the customer landed on a specific page which would mean that they completed the process. This redirect URL will be necessary for this setup (or even a distinct portion of the URL for brevity sake).
How To Create A Facebook Custom Conversion
- Back in the Facebook Ads Manager, in the search bar at the top, type “Custom Conversions”.
- Click “Create Custom Conversion”.
- Under “Rule” select “URL Contains”.
- You’ll want to put the two URLs or part of the URLs here (squeeze page and “Thank You” page)
- Put in the URL of the page you’re wanting them to go to first (squeeze page)
- Click “Add”
- Put in the URL of the page your page visitors are taken to AFTER they have performed the call-to-action (“Thank You” page).
- In “Category” select “Lead” or something that will let you know what it is. (This doesn’t affect the performance of the ad).
- Click “Create”.
- Name & Describe your Custom Conversion (Again, the name you use does not affect the performance of the ad).
- Note: Checking “Select a conversion value” allows Facebook to attach a value to the amount of traffic and qualified leads for the sake of analytics on your end.
- Click “Create”.
Begin Advertising
Now that we have created your targeted content, installed your Facebook pixel, created your Facebook audience, created a lead capture system, you’re ready for advertising.
- Go back to your Facebook profile.
- In the upper right, click on the dropdown arrow.
- Now click on “Create Ads”.
- Click on “Conversions”.
- Name your campaign.
- Click “Continue”.
- Name your ad set name.
- Inside the Conversion section, in Website, select either “Lead” or “Complete Registration”.
- Click on “Set Up Conversions”.
- Click on “Track Custom Conversions”.
- Under “Rule” select “URL Contains”.
- You’ll want to put two URLs or part of the URLs here.
- Put in the URL of the page you’re wanting them to go to first.
- Click “Add”
- Put in the URL of the page where they would be taken AFTER they have performed the call to action.
- In “Category” select “Lead” or something that will let you know what it is. (This doesn’t affect the performance of the ad)
- Click “Create”.
- Name & Describe your Custom Conversion (Again, does not affect the performance of the ad).
- Note: By checking “Select a conversion value”, this allows Facebook to put a value to the amount of traffic and qualified leads for the sake of analytics on your end.
- Click “Create”.
- Inside the Audience section you’ll select the Custom Audience we created earlier.
- Set your budget to either “Daily Budget” or “Lifetime Budget” and the allowance you want Facebook to work with.
- Click “Continue”.
- Name your ad.
- Select your preferred ad format.
- Add text to your link that explains what you’re promoting.
- Update your “Headline”, “Description”, and “Destination URL”.
- Note: Your destination URL should be where the squeeze page leads your prospect.
- At this point, everything is personal preference to your taste.
- Once you’re satisfied with your ad, click on “Confirm”.
- Submit your payment information and you’re all set!
Recap of How All of This Works
You have content on a website that is targeted to specific personas—buyers and sellers. You’re telling Facebook through the pixel you set up, “People who visit this content are my potential buyers, and people who visited that content are my potential sellers.” Now, Facebook will track, create, and build your audience according to those pages. When you’re ready to pay Facebook to promote your lead capture page, Facebook knows exactly who to target so that your ad spend is used efficiently.